
LED Corn Light Installation Tips
However, like with all lighting, proper installation is required for LED Corn Lights to work and to avoid premature failure.
Tip #1 - Bypass the Ballast
With metal halide fixtures, the ballast acts to regulate the amount of current supplied to the light source.
However, most LED fixtures use a driver, which eliminates the need for a ballast.
As a result of this, failure to bypass the ballast in an existing fixture will ruin the driver and LED Corn Light and is one of the most common reasons for premature bulb failure.
We have a handy video guide HERE for a simple ballast bypass and retrofit installation for an LED Corn Light.
Tip #2 - Ensure the Bulb Will Fit Properly in the Existing Housing
Another extremely common cause of bulb failure is due to tight or enclosed housing.
Because of the amount of heat that is generated from use, LED Corn Lights typically either have a cooling fan or use aluminum heat sinks and require some extra room in the fixture to allow for heat dissipation.
However, if not enough room is given the heat stays trapped in the fixture, which often leads to premature failure
Tip #3 - Use the Correct Voltage
As simple as it may sound, please always make sure to check the voltage for the fixture you will be retrofitting, to ensure that the LED Corn Lights will be compatible.
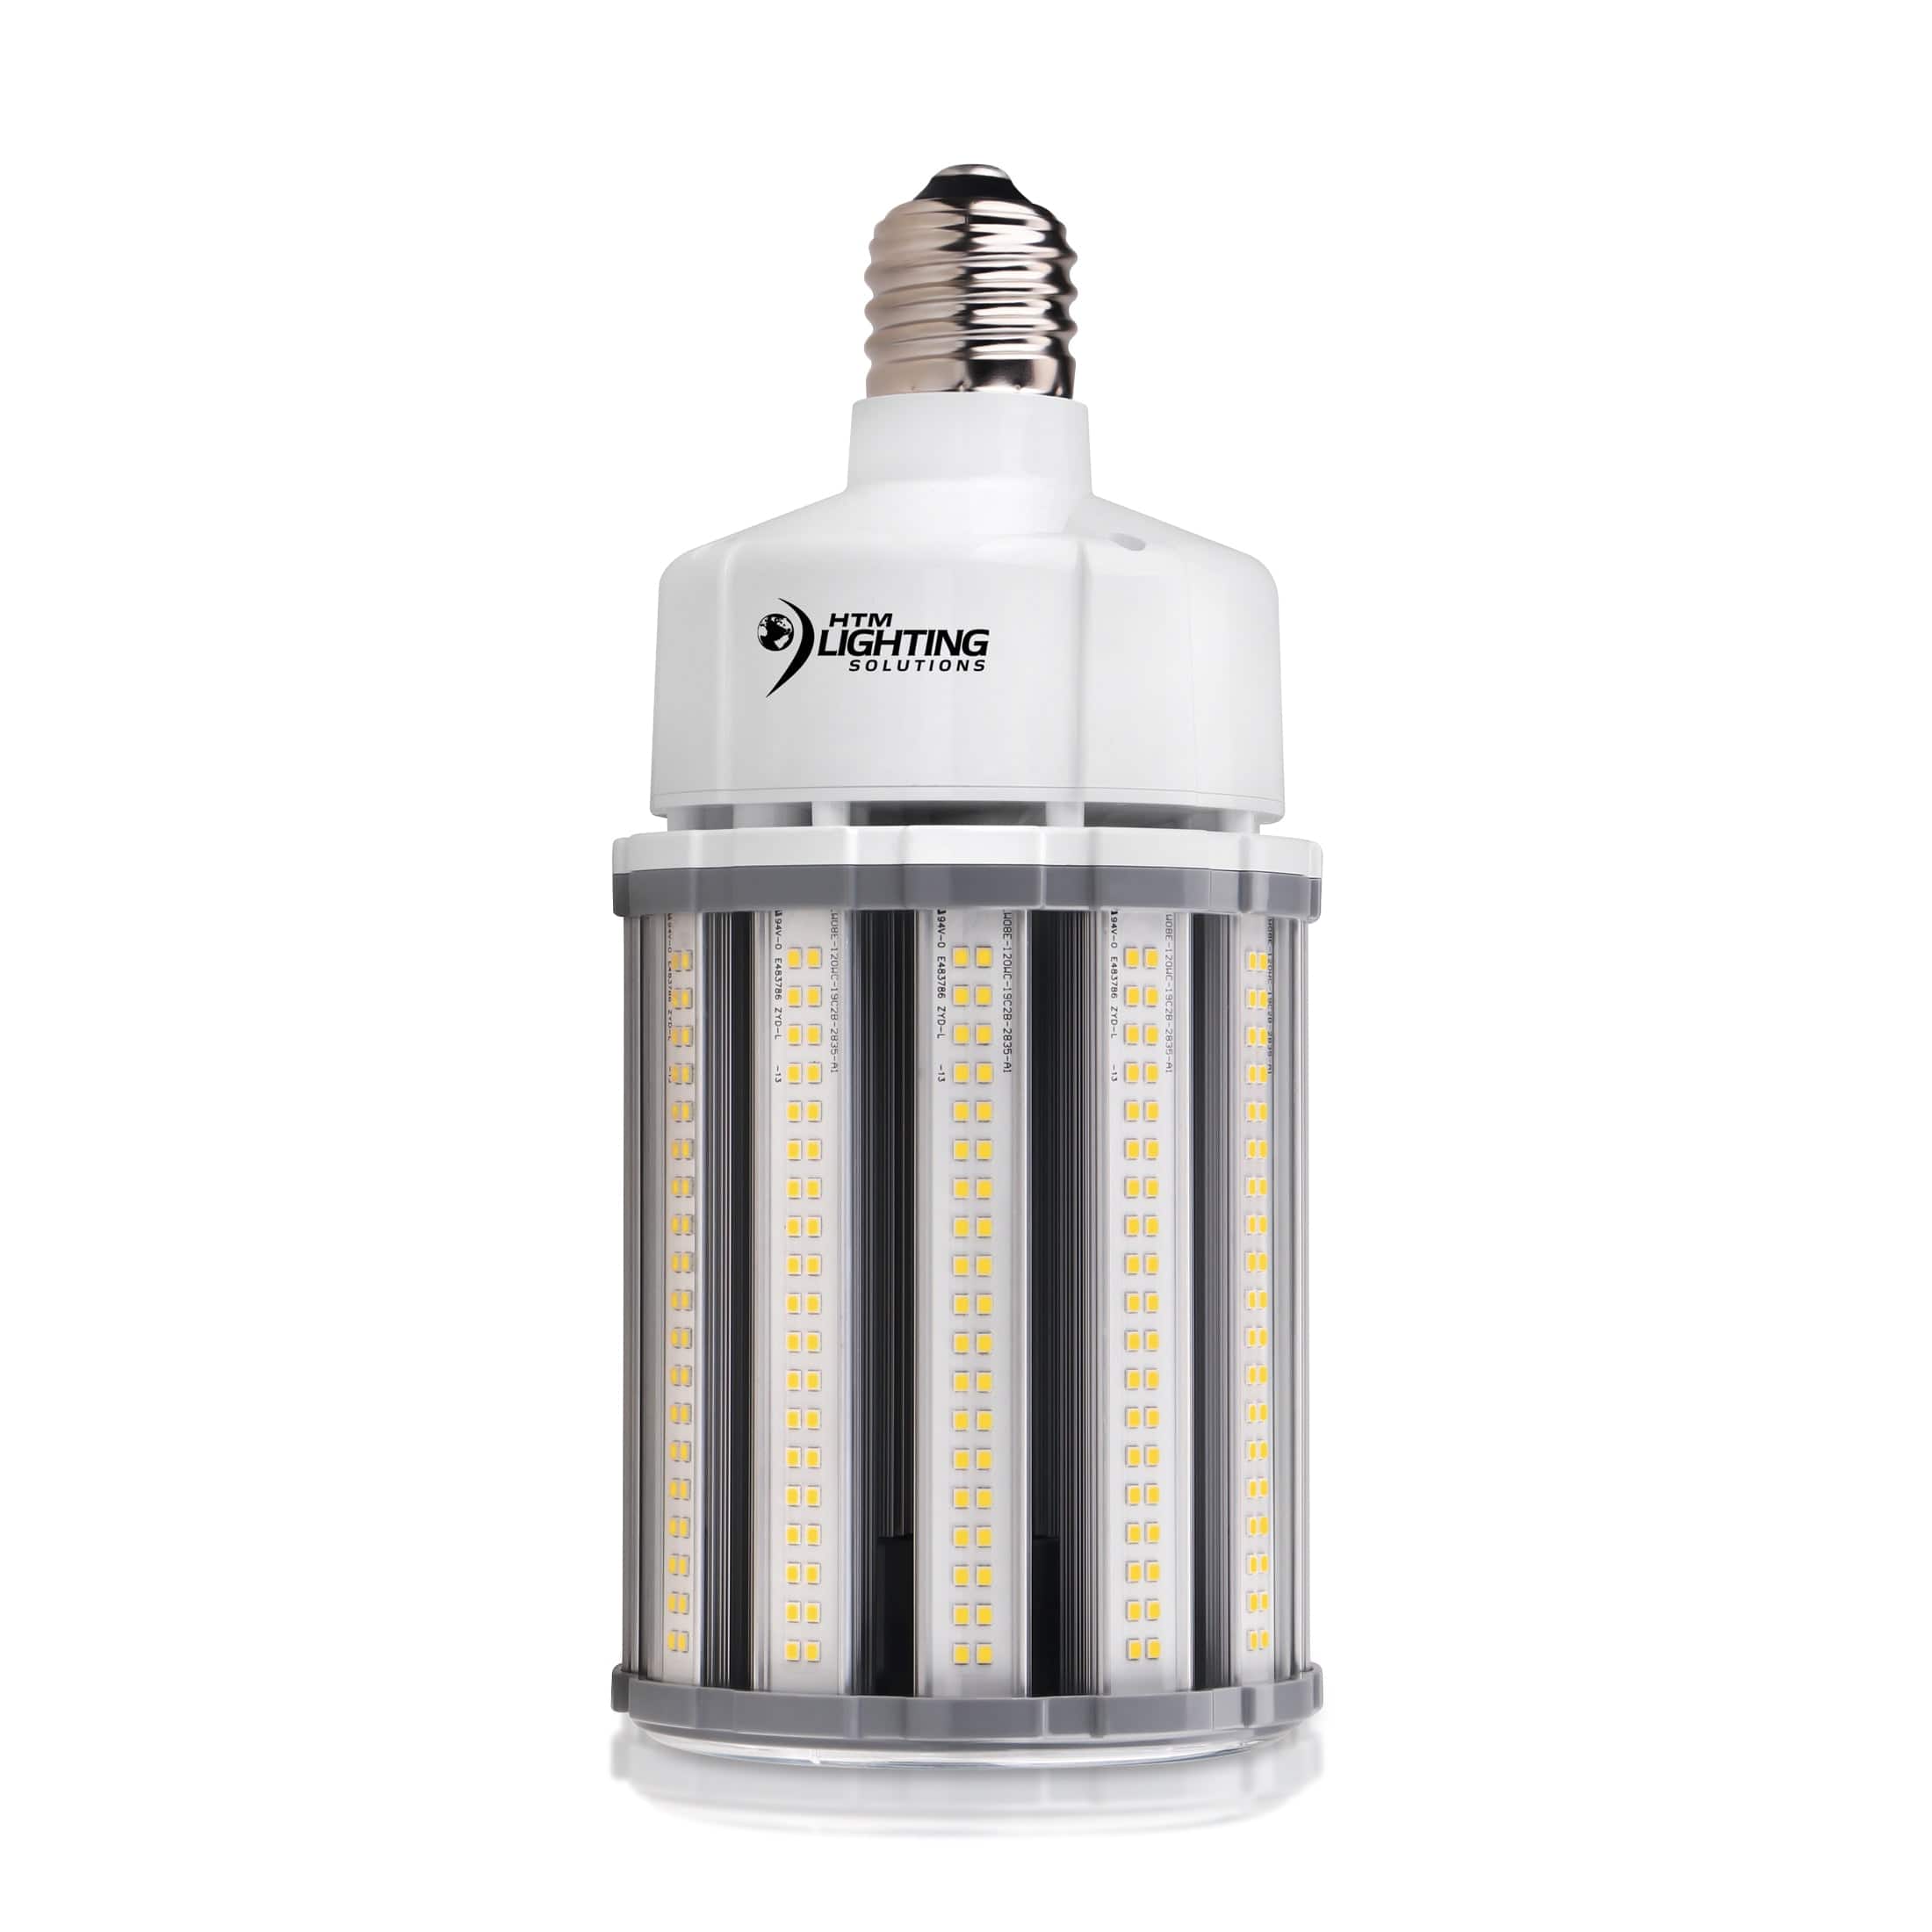
For example, HTM Lighting Solutions’ LED Corn Lights are all rated for 100-277V.
Failure to use the correct voltage will lead to damage of the bulbs and fixture, and may also cause potential harm.
Tip #4 - Always Use Surge Protection
Power surges are caused by a multitude of factors, including storm surges and can damage a fixture or cause potential harm.
Not using a surge protector leaves your fixture defenseless to potential failure in the event of an electrical surge.
To avoid these issues, it is heavily recommended to use surge protectors to absorb some or all of the damage due to a power surge and keep you and your fixtures safe.
Tip #5 - Don’t Modify the Fixture or Bulb
Retrofitting a fixture using LED Corn Lights should be as simple as a ballast bypass and installing the new bulbs.
Sometimes additional modifications might be made to ensure that the bulb fits in the housing or works with the application.
However, modifying the fixtures too much or modifying the bulbs could lead to failure or potential risk of electrical damage or water intrusion.
It is always best to use bulbs that work for the application needed without any additional modifications.
Tip #6 - Check for Bulbs that Require Vertical Installation
Some models of LED Corn Lights require vertical installation, usually found with larger models with a heavier weight.
Bulbs that are improperly mounted can actually break inside the fixture due to the weight and could lead to electrical damage and potential fire hazard.
As a result, always check to see if a bulb can be mounted horizontally prior to installation.
- Michael Tomas


